
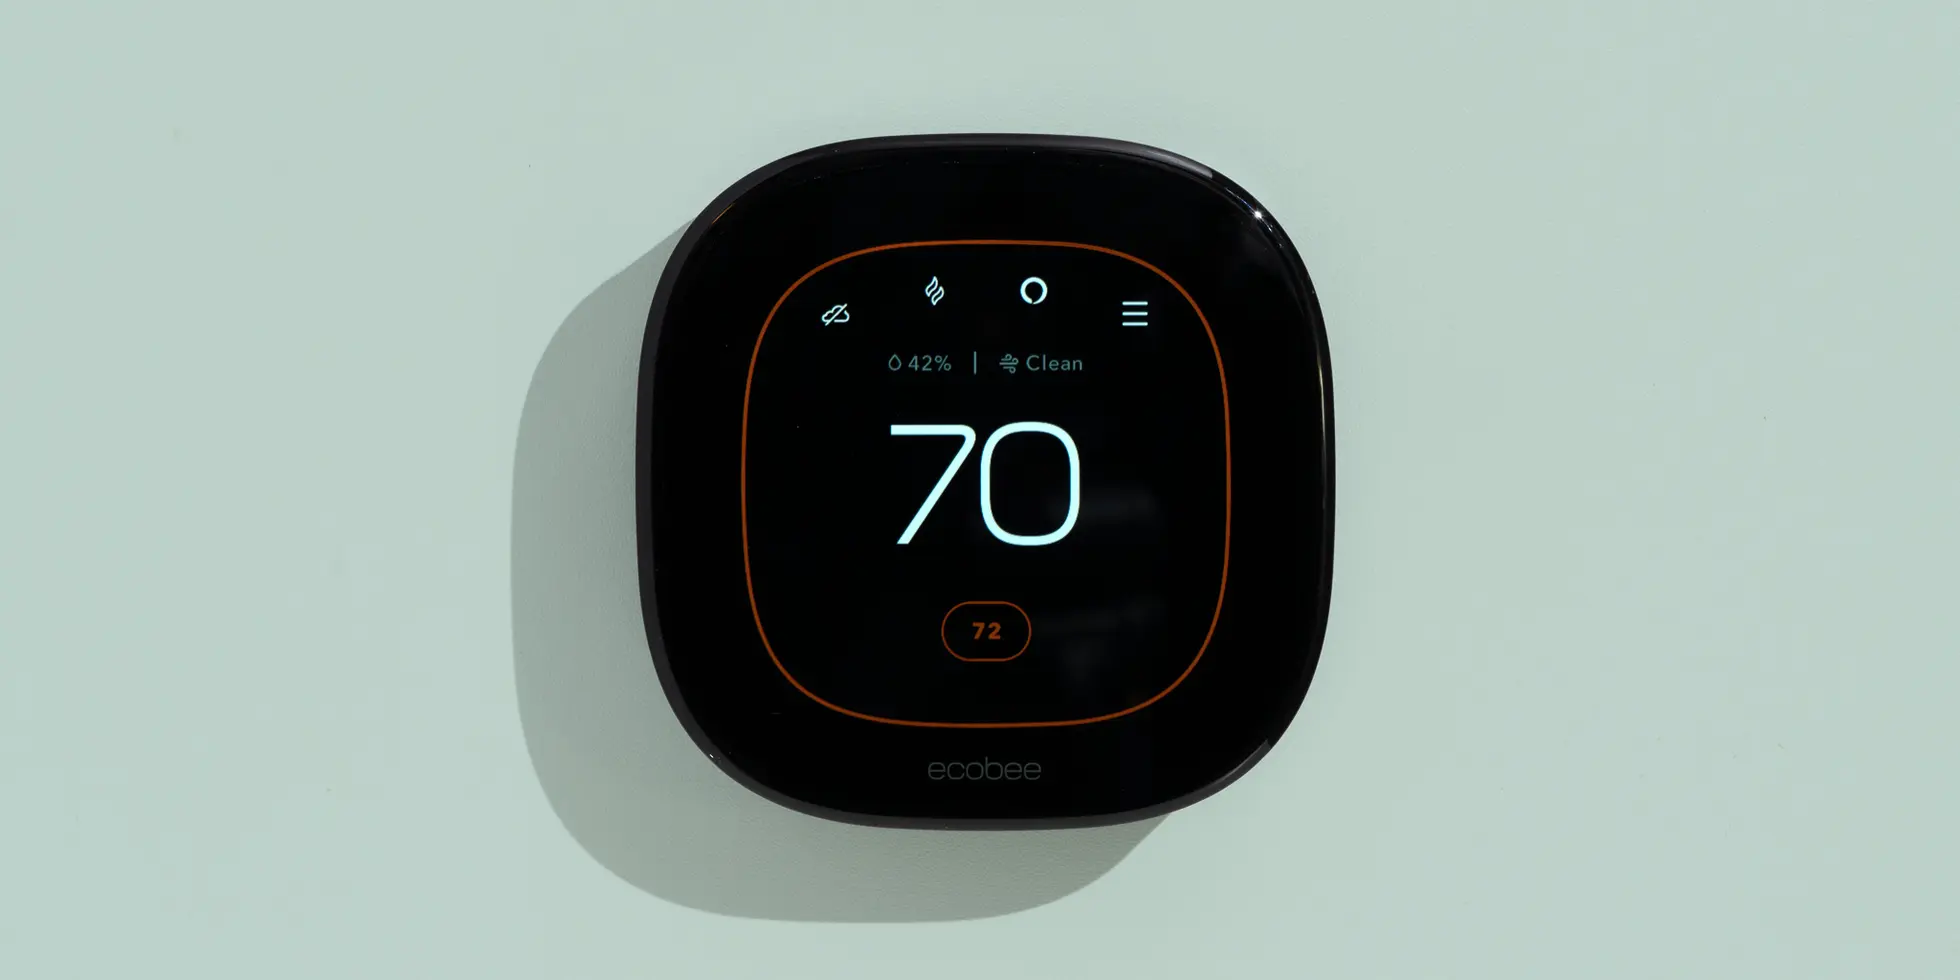
A smart thermostat makes temperature control easier and can reduce wasted heating or cooling when used properly. This guide walks through pre‑installation checks, the physical install, setup, testing, and common troubleshooting so you can install a smart thermostat safely and confidently.
1. Before you buy: check compatibility
Not every smart thermostat works with every HVAC system. Before removing your old thermostat, find the model’s compatibility guide online or in its manual. Confirm it supports your system type (gas/electric furnace, heat pump, multi‑stage equipment, etc.) and whether it requires a continuous power source (C‑wire).
Inspect the existing wiring
Remove the old thermostat’s cover and photograph the wiring and terminal labels. Terminal letters are the reliable indicator of function — common ones are R (power), C (common), W (heat), Y (cool), G (fan), and O/B (heat pump reversing valve). Wire color can help, but don’t rely on color alone.
Do you have a C‑wire?
The C‑wire (common) provides constant 24V power to many smart thermostats. Some models can run without it or include an adapter, but many need a C‑wire. If your existing thermostat has no C terminal wired, check the furnace/air handler control board for an unused conductor you can repurpose, or plan for an adapter or professional wiring.
2. Tools and materials
- Screwdrivers (flat and Phillips)
- Drill and wall anchors (if mounting holes don’t align)
- Voltage tester (optional but useful)
- Smart thermostat mounting plate and screws
- Smartphone or tablet for app setup
- Camera or phone to photograph wiring
3. Turn off power
Turn off the HVAC system at the breaker or service switch. Don’t rely solely on the old thermostat’s screen going dark; verify power is off with a tester or by confirming the furnace or air handler is unpowered. If you’re unsure which breaker controls the system, stop and ask a professional.
4. Remove the old thermostat
With power off, remove the thermostat cover and backplate. Take a clear photo of each wire and label them according to the terminal they were attached to. Use small pieces of masking tape to mark wires if labeling will help. Prevent wires from slipping back into the wall.
5. Install the new mounting plate and connect wires
Position the new plate, feed the wires through its opening, and level it. Mark and drill new holes if needed and install anchors. Connect each wire to the matching terminal on the new thermostat according to the manufacturer’s diagram — not by wire color alone. Ensure each terminal screw is snug and no bare wire touches adjacent terminals.
6. Attach the thermostat and restore power
Seat the thermostat onto the plate (clip or screw it in place per instructions). Restore power at the breaker. The thermostat should power up and begin its initial setup. If the display remains blank, power down and recheck wiring and the presence of a required C‑wire.
7. Connect to Wi‑Fi and set up the app
Install the official companion app on your phone and follow the on‑screen setup: create or sign in to an account, select the thermostat, connect it to your Wi‑Fi network, and complete any firmware updates. Use a stable router signal during setup; if the thermostat does not support your Wi‑Fi band (2.4GHz vs 5GHz), consult the product specs.
8. Configure schedule and basic features
Create a simple schedule that matches your routine (morning, away, evening, night). Start with basic temperature setbacks and test responsiveness before enabling advanced features such as learning modes, geofencing, or voice assistants. Enable extra features one at a time so you can confirm they behave as expected.
9. Test the system
Test heating and cooling individually. Verify the thermostat reads room temperature sensibly and that the HVAC equipment and fan turn on when requested. Allow for any built‑in compressor or system delays when testing.
10. Common problems and quick fixes
- Blank display: confirm breaker/service switch is on and C‑wire wiring is correct.
- Won’t connect to Wi‑Fi: check password, move phone/router closer during setup, and confirm supported Wi‑Fi band.
- HVAC doesn’t respond: recheck terminal wiring and secure connections; if correct, contact an HVAC pro.
- Inaccurate temperature: thermostat placement matters — avoid sunlight, vents, doors, or appliance heat.
When to call a professional
Hire a qualified HVAC technician if wiring is unclear, your system is multi‑stage or a heat pump you don’t understand, you need new wiring run to the thermostat, or the system behaves oddly after installation. Professional help avoids damage to equipment and electrical mistakes.
Energy tips
A smart thermostat can reduce wasted energy but won’t automatically lower bills. Use sensible setback schedules, leverage programmable away modes, and review energy reports (if available) to learn how your system performs.
FAQ
Do all smart thermostats need Wi‑Fi?
Not all. Many features (remote control, cloud services, voice assistants) require Wi‑Fi, but basic local control may still work without it depending on the model.
Can I install it myself?
Many straightforward replacements are DIY‑friendly if you’re comfortable with basic wiring and safety steps. If wiring is unfamiliar or the system is complex, choose professional installation.
What is a C‑wire?
The C‑wire (common) supplies continuous 24V power to the thermostat. Some smart thermostats require it; others can use adapters or batteries, so check your chosen model’s requirements.
Follow the thermostat manufacturer’s installation guide and safety warnings. When in doubt, consult a licensed HVAC technician — it’s better to pay for expertise than risk equipment damage or unsafe wiring.